Lard, the real stuff
How to render lard: Pork fat + Time + Heat
Just short of a culinary disaster is how I would describe it. I tried to make cornbread in a cast iron skillet while at Chaya’s parents house over Christmas. Actually, it was worse than that because we were going over to another Aunt/Uncle’s house for chili, and these are relatives that we hardly ever see. “Don’t you have a food blog?,” is not a question you want to answer when you have just served really bad cornbread. I have successfully made cornbread before at our house, but the only difference this time was the use of store bought lard. You can find the ingredients here—Yuck!
What is really hard to believe was that I could not find non-chemical laden lard anywhere. I guess that no one is making pure lard anymore, or the distribution is not as prolific as say hydrogenated oil. Sadly the anti-fat bias is around and while neon spandex, the bio-pace bicycle crank and “spot reduction” excercises have all gone the way of the dodo bird—yet the low fat low cholesterol is still with us (and so are the autoimmune diseases, poor dental health, obesity, diabetes, cancer, etc.). Michael Polan refers to this as “lipophobia” which in my opinion should have gone out with the USDA under the Carter Administration when it was made so popular.
In an effort to redeem myself and make some decent cornbread, I called every health food store in the phone book as well as every butcher shop—no lard to be found (in this populated city). I could buy shortening all day long complete with hydrogenated oil and all kinds of other yuck—but no pure lard. Finally Chaya and I found some “Pork Oil” in a container at an Asian food store. This proved to be just bacon grease so it was very salty to the taste and did not perform like lard. Anyone looking to get into a niche business for themselves, it would seem that the organic lard market is wide open in the Midwest.
Here is the method we use to make lard:
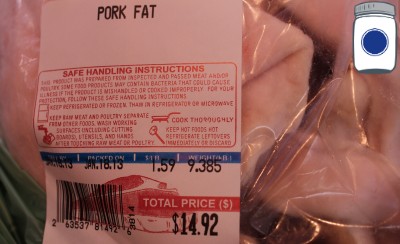
I bought 15 lbs. of straight pork fat from the local grocery store butcher. If I had a local pig farmer, I would certainly buy it from him/her rather than take a chance on CAFO pork products—but it was all I had available.
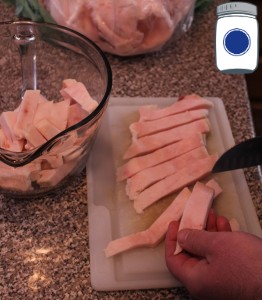
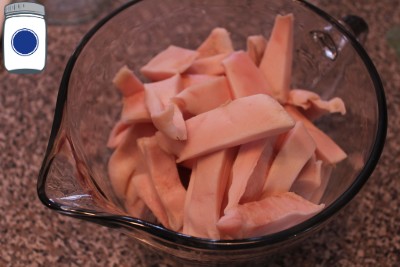
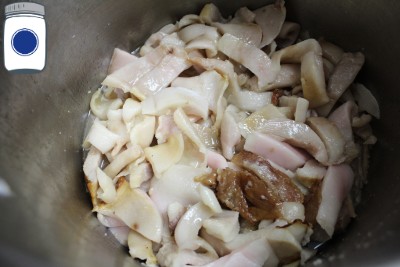
Cut the pork fat into strips or chunks if you like.
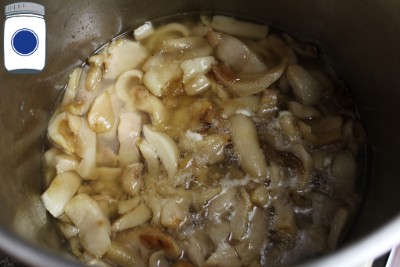
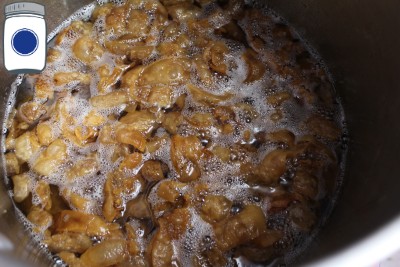
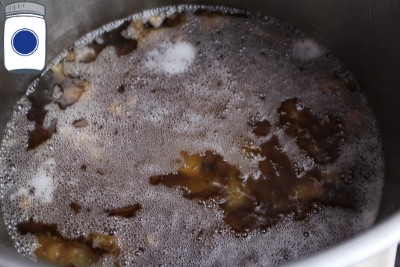
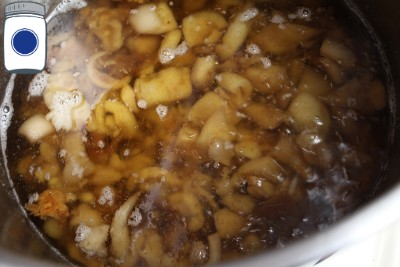
Put the chunked pork fat into a stock pot or crock pot (which is Sheri Salatin’s method—see “Further Reading” below). I recommended starting very slowly with low heat until the fat starts to seep out of the pork fat. When you render lard in this manner the process will speed up over time as there is more liquid to make contact with the solid fat, thus transferring heat more efficiently and leaching more liquid fat. These photos are about 12-16 hours apart:
Eventually you will see bubbles on the top. According to Sally Fallon Morell, these are likely toxins and should be skimmed off.
Perfect!
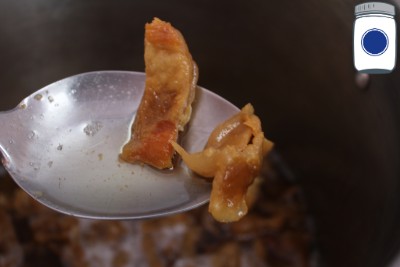
The solids that you are left with are known as “cracklins” in the South. They certainly can be salted and eaten, but I set them aside (see below).
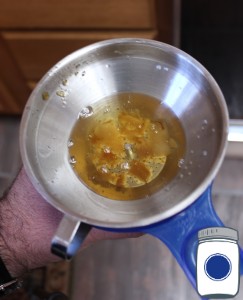
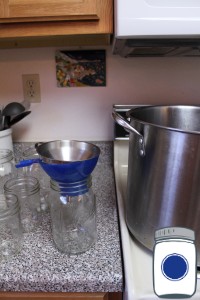
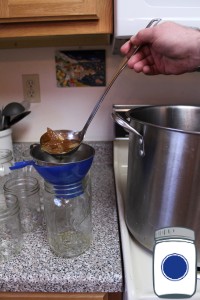
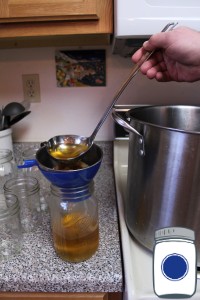
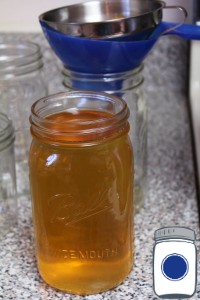
To filter out the liquid from the solids I use a combination of the stainless steel funnel with screen and a canning funnel. This combination gives me the stand off from the stainless steel spout to the lard in the jar along with the capability to filter out the solids. I then put the solids (or cracklins) in a bowl to be pressed (see below).
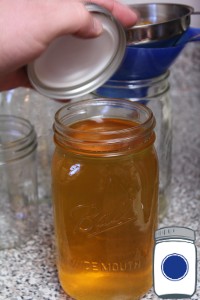
After the jars are full, I covered them with a Tattler reusable canning lid and set them aside with loose lids (basically, I am just trying to keep the dust out them).
Let the jars cool. The lard will solidify and turn white at room temperature. The fact that lard does solidify at room temp is exactly why it makes the best pie crust as opposed to the candlewax alternative sold as “vegetable shortening.” No, I did not make that up either.
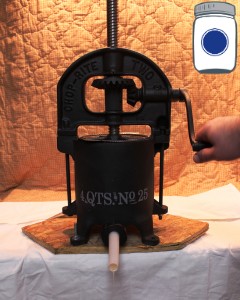
This next step is totally optional, and truth be told may be more trouble than it is worth (unless you are doing a big quantity like we did) because it only added may be 10% more finished lard. I set up my awesome Choprite Two #25 sausage/fruit/lard press. It is made in America, built like a family heirloom this is a supurb press!—did I mention how awesome it was?
I scooped/poured the lard and the last of the cracklins into the basket of the press and used the smaller plunger (that fits inside the basket). Be sure that you have a partner working with you to catch the lard in a jar so that you do not have to dirty any other items.
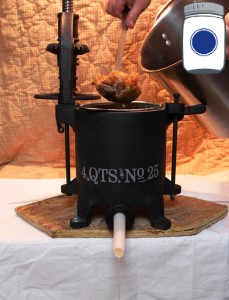
Then I closed the arch and cranked down the press and waited for the drips to stop flowing into my jar.
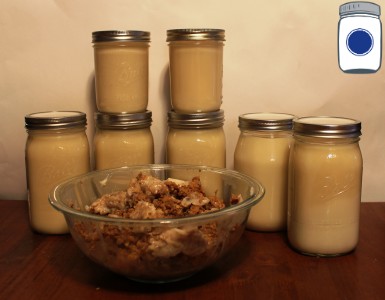
The final yield was 1.5 gallons of beautiful homemade hydrogenated oil free pure lard! These will keep for a very long time in the fridge or root cellar.
The balance of the cracklins in the bowl turned out to be 2 lbs 2 oz of leftovers that went to the chickens—who loved it! It looked like a chicken mosh pit over their food bowl.
Leave a comment below, and let me know how you did. I put some additional resources from our friends below on how they complete the same lard making process.
Wilson
Pro Deo et Patria
Photo Credits:
All photos by Pantry Paratus
Further Reading:
Blogpost from our friend Jill Winger of the Prairie Homestead on how to make lard.
Blogpost from the famous Sheri Salatin of Polyface Henhouse on how to make lard.
Video blog from our friend Sarah from the Healthy Home Economist on how to make lard.
Errata: I totally had the WRONG light for these pictures, sorry that the photo quality is so poor. I will try to rectify that in the future!
Proviso:
Nothing in this blog constitutes medical advice. You should consult your own physician before making any dietary changes. Statements in this blog may or may not be congruent with current USDA or FDA guidance.

You failed to mention that you need to render this lard outside and not on your kitchen. I have a one burner gas cooker and wood burning cook stove in my shop to render lard. The fat pops a little and grease burns leaving an offensive smell to some folks. Other than this mention, I think you did great. Keep cooking and living the good life. Cheers, Jim N.
Thank you for writing this up and posting it. I was curious about how this was done, and this is well written explanation.