Homemade Ravioli
Techniques & Tools

Homemade Ravioli is the world’s best make ahead meal…the flavor compares to nothing you can buy in the store, and unexpected dinner guests can have a gourmet meal in 10 minutes flat (with the help of the freezer, of course). I have made ravioli multiple times but I did them the “old fashioned way” that meant I was cutting and stuffing the squares by hand. Delicious though they may be, the presentation was lacking. They always looked rough (especially since my kiddos like to help). I’m really excited about the simplest tool that transformed my end result! Some people prefer to do it the hand-shaping way with a ravioli wheel, so we have one in stock if that’s your preference; but today I’m going to show you my favorite cheat for homemade ravioli–the ravioli press.
Start with a basic pasta recipe. If you do not normally put eggs in your pasta, I do recommend them now, because you will be manipulating the dough and the egg serves to hold the dough together very well. I also recommend using your pasta machine to roll the pasta out into sheets; it’s way too difficult to get them thin enough by hand (and takes longer, too).
For your filling, consider anything that suits your fancy…such as cheeses, sausage, spinach, pesto, pumpkin, the list goes on. The pictures below were taken with the following recipe:
½ cup ricotta cheese, 3 cheese Italian, Cheddar Cheese, and sausage. Mix in 2 eggs and salt & pepper to taste.
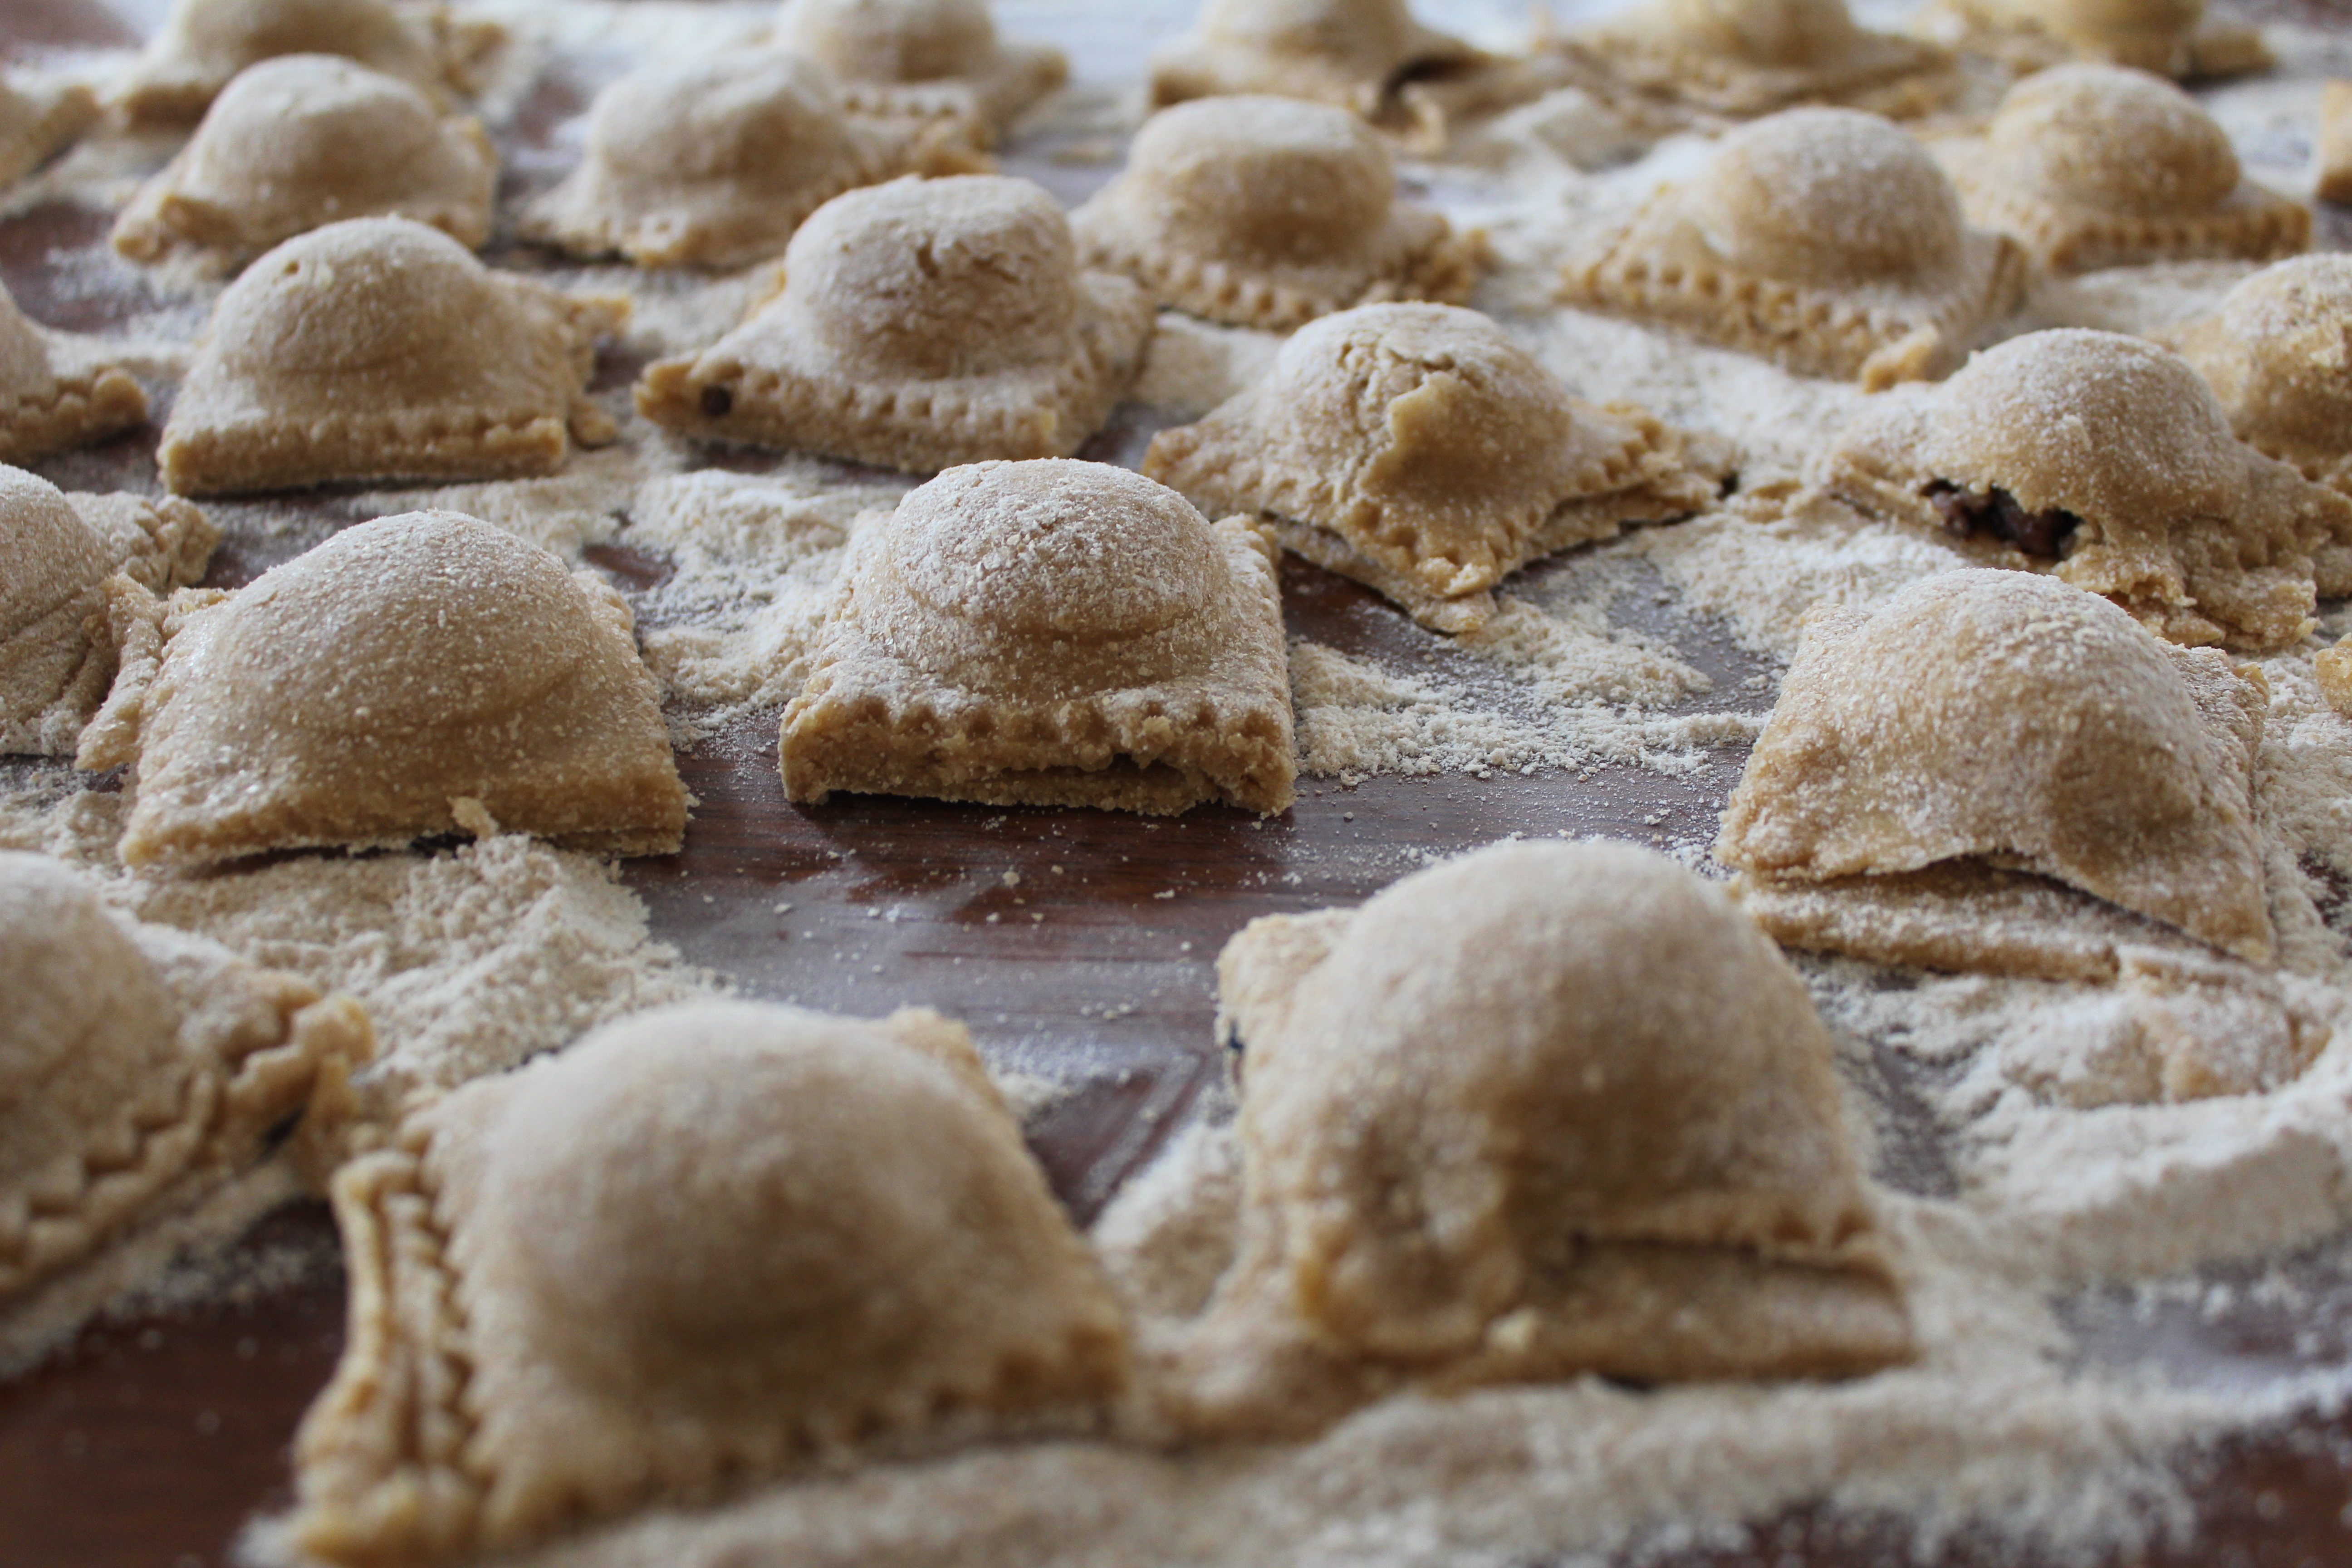
So here is how to get ravioli to look like this:

(1) Place one strip of dough over the frame of the ravioli maker.

(2) Press the dough into the frame with the indented tray.

(3)Fill the pouches with the filling as desired (don’t overstuff!), and place a second strip of the pasta dough over it. Press the strips together with your fingers.

Tip: A few drops of water or egg white run in between the strips will help create a good seal.
(4) Seal by running a rolling pin over the top of the dough-covered frame, gently at first and then increase pressure until the zig-zag edges of the frame are visible through the pasta.

(5) Remove ravioli from the frame by tapping them onto the counter.

(6)Trim out squares using a ravioli wheel or knife. Remove excess dough and re-roll. Repeat the procedure until the dough and filling are used.

(7) Place ravioli on a heavily floured cookie sheet and let dry for 1 hour. Turn over and let dry for another hour. Put ravioli in the freezer and thaw before cooking…
OR…go ahead and cook the ravioli for 8 minutes or until tender. Remember that the cooking time will vary depending upon your dough’s thickness.
Tip: If making a pumpkin ravioli filling, serve with a sage butter sauce! Yum!
Enjoy,
Chaya
Looking for the right tools?

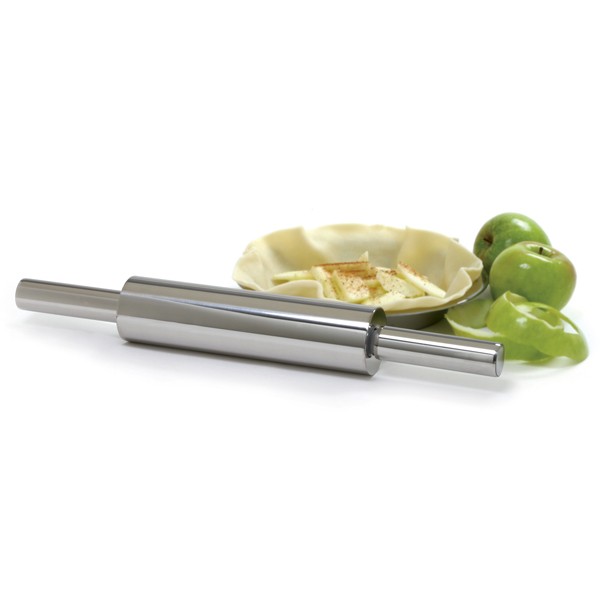
Pasta Maker (Machine) Marble Rolling Pin


Ravioli Wheel Ravioli Maker with Press
Pictures courtesy of Norpro, with the exception of the flour-dusted table–that’s my delicious mess.