Preserving Summer’s End (Part 2)
Making the best of the sunshine last through the winter
I like fruits and vegetables all year round. Since I am not living in the Southland but am in Montana, I need to find a way to preserve the best of summer for the rest of the year. I showed you how I dehydrated the bulk of what I bought at the farmer’s market in the first blog in this series; now I want to wrap up the dehydration and cover some fermentation.
Truth be told, I like dehydrating the best. In fact, Chaya was just teaching about it at the Zone 4 Live! event in Pray, MT! Dehydrating is my favorite because it is so hard to mess it up. I love a nifty kitchen gadget, but the simplest one that I own is the Excalibur Dehydrator. It is the work horse for DIY food preservation.
Chaya adds: “Wilson is right, it is hard to mess up, and once you own the dehydrator there is no recurring costs to it. It preserves more of the nutritional value than any other preservation method and the food has a shockingly long shelf life. You can’t beat it!”
Parsley & Basil
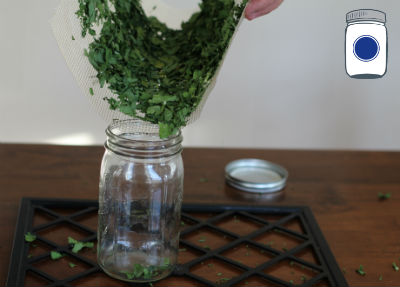
I am going to combine these two herbs into one section because to process them is identical and I made an error in taking the photos. Here it goes . . .
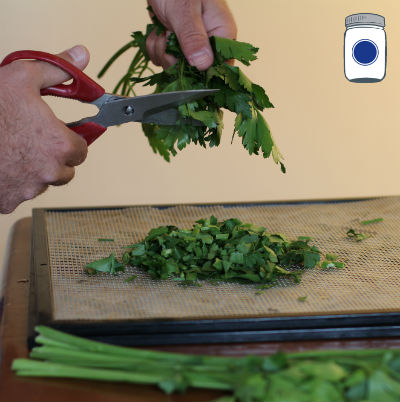
First thing I do is to cut the parsley. This is not all that scientific, and you need not worry yourself with how even the cuts are. Once the parsley comes out of the dehydrator you can crush it up to be as small as you like. For now, I am just going to chop and drop it right onto the mesh dehydrator tray.
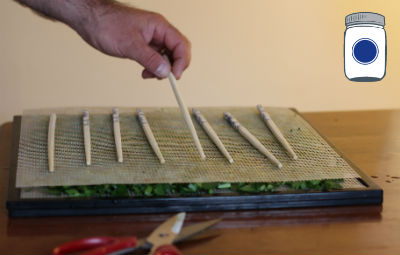
Weigh down herbs by adding a mesh lining on top and placing
something like chopsticks on top.
Now, I have never seen this written in a book anywhere, but I believe that I can save you some frustration here. I take one extra mesh dehydrator tray and put it on top of the cut herbs. When either parsley or basil are hydrated, they will not blow away in the moving air from the dehydrator fan. However, after the moisture is removed, they will migrate to the front of your dehydrator and if you are lucky you can sweep up the best parts in the bottom of the dehydrator. Chaya recommends using paraflexx sheets underneath; although not necessary, sometimes the small dehydrated bits fall through the mesh; it’ll keep your dehydrator cleaner and make it simpler to jar the dehydrated herbs. If you try this method (I added the chop sticks for extra ballast) you can keep almost all of your herbs and not experience an attrition like I described.
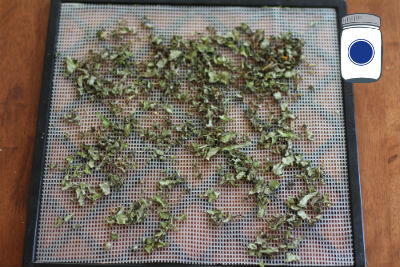
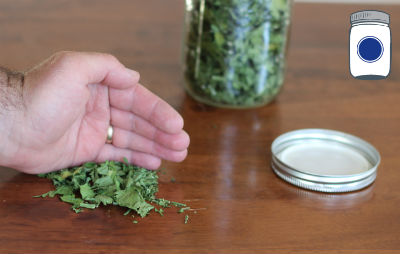
When you are getting the finished product into the jar, you will inevitably get some on the table or counter which is not a big deal, just sweep them up and add those to the jar. Other than that, you can see that this is $1.50 in parsley—try getting that on the spice aisle in the grocery store! This is really the way to get fresh herbs into your diet through the winter at a fraction of the cost.
Montana Kimchi
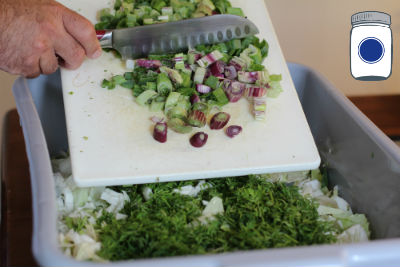
So, I would love to tell you that this is a secret family recipe that was passed down to me, but that would not be true. Actually, this came from some adverse times when Chaya and I were very poor. We would ask the produce people at the local grocery store to put aside the “trim” from that day in a box and we would pay some nominal fee for it. What is trim? That is what they pick from the produce displayed in the grocery store and throw away because it is not visually appealing; what was not edible for us was a treat for the chickens, ducks, and goose. So, if you do not mind bruises or a few brownish spots, then you had a real bargain. From these boxes of produce we started making “Trim-chi” which was upcycled to “Montana Kimchi” later on and has remained with us as a favorite.
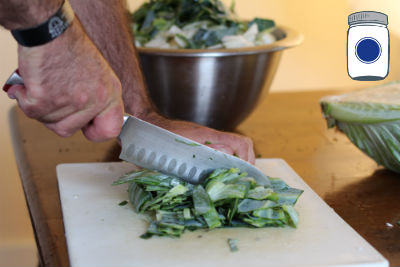
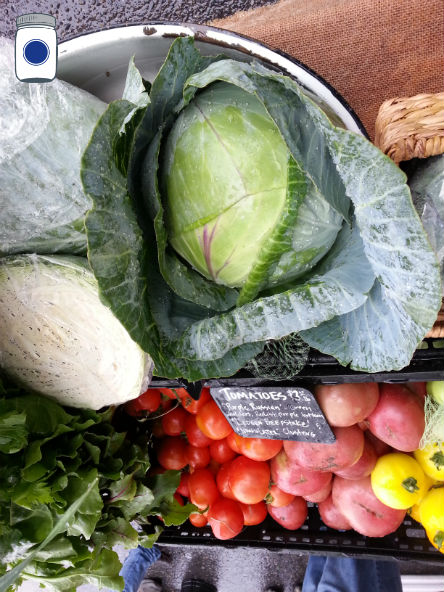
While we are not starting with oozing onions anymore, we are still working off the premise of not wasting anything (actually, my Italian Nonnie would be very proud if she were still alive to read this). Here I am starting off with the exterior green tough layers from the cabbage. Since I bought this at the farmer’s market, and I know (because I could ask her) that they did not spray it with pesticides, therefore the outside leaves are edible*, so I cut them up and toss them in the mixing tub.
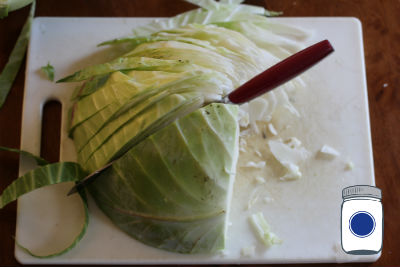
When it comes to cutting cabbage for fermentation, the best tool hands down is a food slicer. However, I wanted to show the manual method here and one particularly useful trick is to cut the dense cabbage in small wedges. While my OCD tendencies would make me want to slice it uniformly into thin bands (thus, my affinity for the food slicer) all the way across the head of the cabbage, this works out to be cheaper than therapy and more efficient for food preservation.
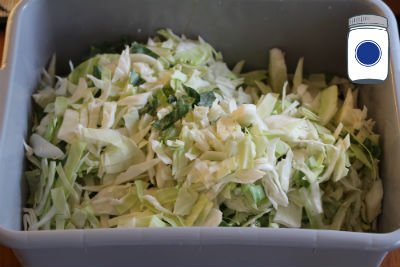
Do you recall from Part 1 where I had you set aside the stringy root bits and carrot tops? Here is where we use them.
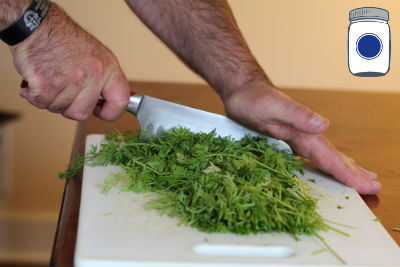
As the saying goes, “It’s all good for Gumbo.” Well, I do not actually venture into putting squid into my Montana Kimchi, but just about anything is good to add and carrot roots and tops are no exception here.
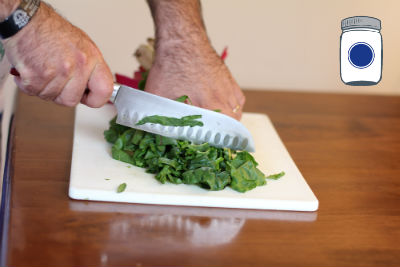
I did the same with the chard leaves and stalks, the green chive tops of the onions.
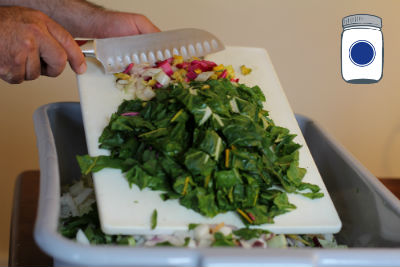
Just about anything is good to add try apples, garlic or hot peppers; I have even heard of people using potato peels. Fermentation is equal opportunity goodness.
Where dehydration is pretty generous and hard to mess up and baking bread is more of an exact science, fermentation falls somewhere in the middle for level of difficulty. There are a few things that you want to know upfront: you will mess it up at least once, always provide for oxygen (avoid anaerobic conditions!), let the bacteria do the work and have patience.
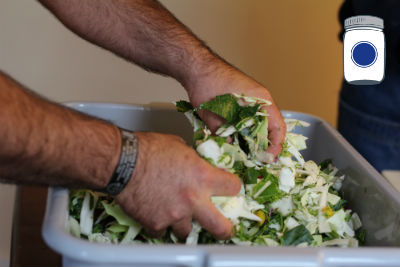
In this particular batch, I am counting on the lactobacillus on the cabbage and chard to start the process, but to help it out and to keep the other bacteria at bay I need to lower the pH. To do that I am adding non-iodized salt (canning salt, sea salt from Pantry Paratus, or kosher salt will work) and kneading/mixing thoroughly by hand. The salt has two functions: lowers the pH to create an acidic environment that the lactobacillus can work in, and it draws moisture out of the vegetable matter to create a liquid solution.
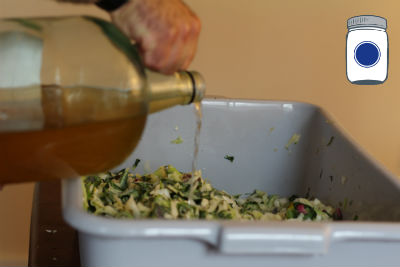
You will be surprised at how compact the vegetable matter becomes after the salt starts to work. As the water follows the solute (salt), you will also notice a lot of liquid at the bottom of the bowl or tub in which you are kneading this—this is a good sign. For this batch, I am adding just a splash of a home-fermented wine vinegar with mother mixture to lower the pH and get the fermentation party happening quicker.
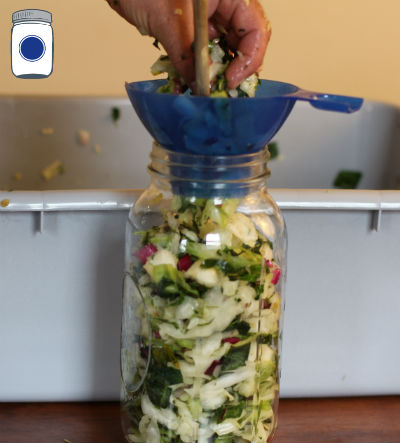
Lastly, I packed the Montana Kimchi into half gallon jars using a wooden spoon handle to compact it. You may be wondering, “How much salt do I add?” The answer is, “to taste,” but to be more precise, you will see the water draw out and it should cover what is being fermented.
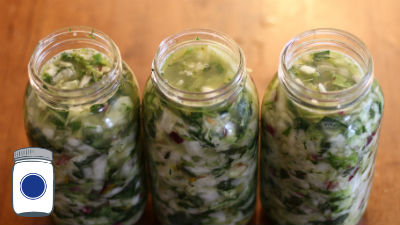
If you feel that you need to add a splash of water to cover it, then you may need to re mix and add more salt. The better solution is to just add the salty water that you have just extracted by kneading the mixture.
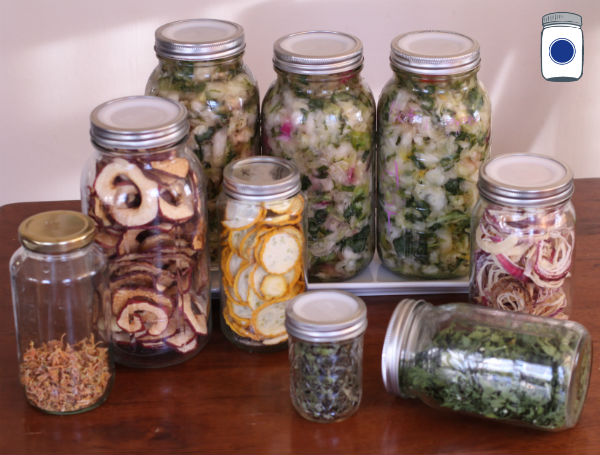
Here is the whole project completed. It took about two hours for the Montana Kimchi and the rest of the food was processed as I had room in the dehydrator over the next few days–and this is the sum total of the $18 in produce I purchased at the Farmers’ Market on a rainy day. All in all, I love to see this on my shelves as a reminder of peace of mind that comes from forethought.
You may be wondering, what the dish is for under the half gallon jars? As the salt continues to work, you will see the liquid start to seep out of the top of the jar, this is normal. For this reason, and to let the carbon dioxide out, we just loosely put the lids on and the bands are only on there half a turn.
Pro Deo et Patria,
Wilson
P.S. As a public service announcement and reminder, nothing goes to waste. If you cannot use it, your soil can so compost it.
*The lady at the farmer’s market stand actually said to me regarding the cabbage, “If you see any green friends crawl out, just pick them off.” I replied, “If the bugs do not want to eat it, why would I?” Moral of the story: shop locally!
Proviso:
Nothing in this blog constitutes medical or legal advice. You should consult your own physician before making any dietary changes. Statements in this blog may or may not be congruent with current USDA or FDA guidance.
