A friend has given me her homemade cheese several times, generally made from her goat’s milk. This is the single best reason ever to have milking goats (although the milk straight is really yummy as well). She invited me over to make some homemade cheese with her, knowing how much I wanted to learn for myself. You can do this with cow’s milk; the thicker it is, the better your outcome will be.

This is a basic stovetop cheese, and only requires 10-20 minutes of your time. It’s as easy as making toast. Seriously, this is far simpler than I could have ever imagined.
Equipment:
- Pot
- Strainer/Colander
- Cheesecloth or thin cloth for straining
- A bowl big enough to place under strainer (to catch the whey)
Ingredients:
- 1 gallon milk
- ¾ cup vinegar
- Seasoning to taste (Italian, Mexican, etc)
- Salt
1. Slowly warm milk, medium low to medium heat. Just be very careful not to scorch it. Stir it occasionally.
2. Just before it boils fully, turn off heat and stir in ¾ cup vinegar.
It will immediately begin to curdle and stick to the spoon, looking sort of like cottage cheese.
3. Place cheesecloth in strainer, and set into another bowl to catch the whey (which can be used for other recipes and purposes)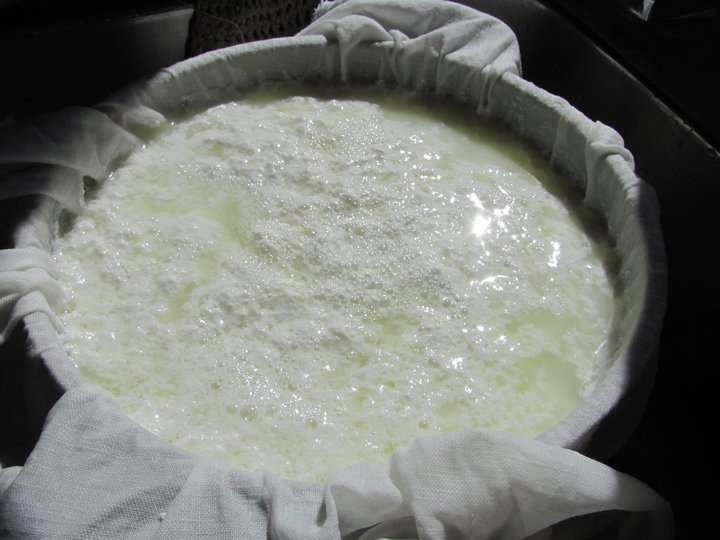
4. Twist, tie, rubber band, or otherwise close the cheesecloth at the top to keep any foreign objects out of the cheese. You can squeeze to help remove the water but be careful not to burn yourself.

5. Leave in strainer for 4 hours. Longer will dry the cheese further.
6. Season to taste (if no time, put it in the refrigerator and do this after cooling). Use salt, Italian seasoning, garlic, oregano, onion powder, etc. You can make a “Mexican cheese” with cumin, chili powder, etc. The possibilities are endless!
7. Chill until use.
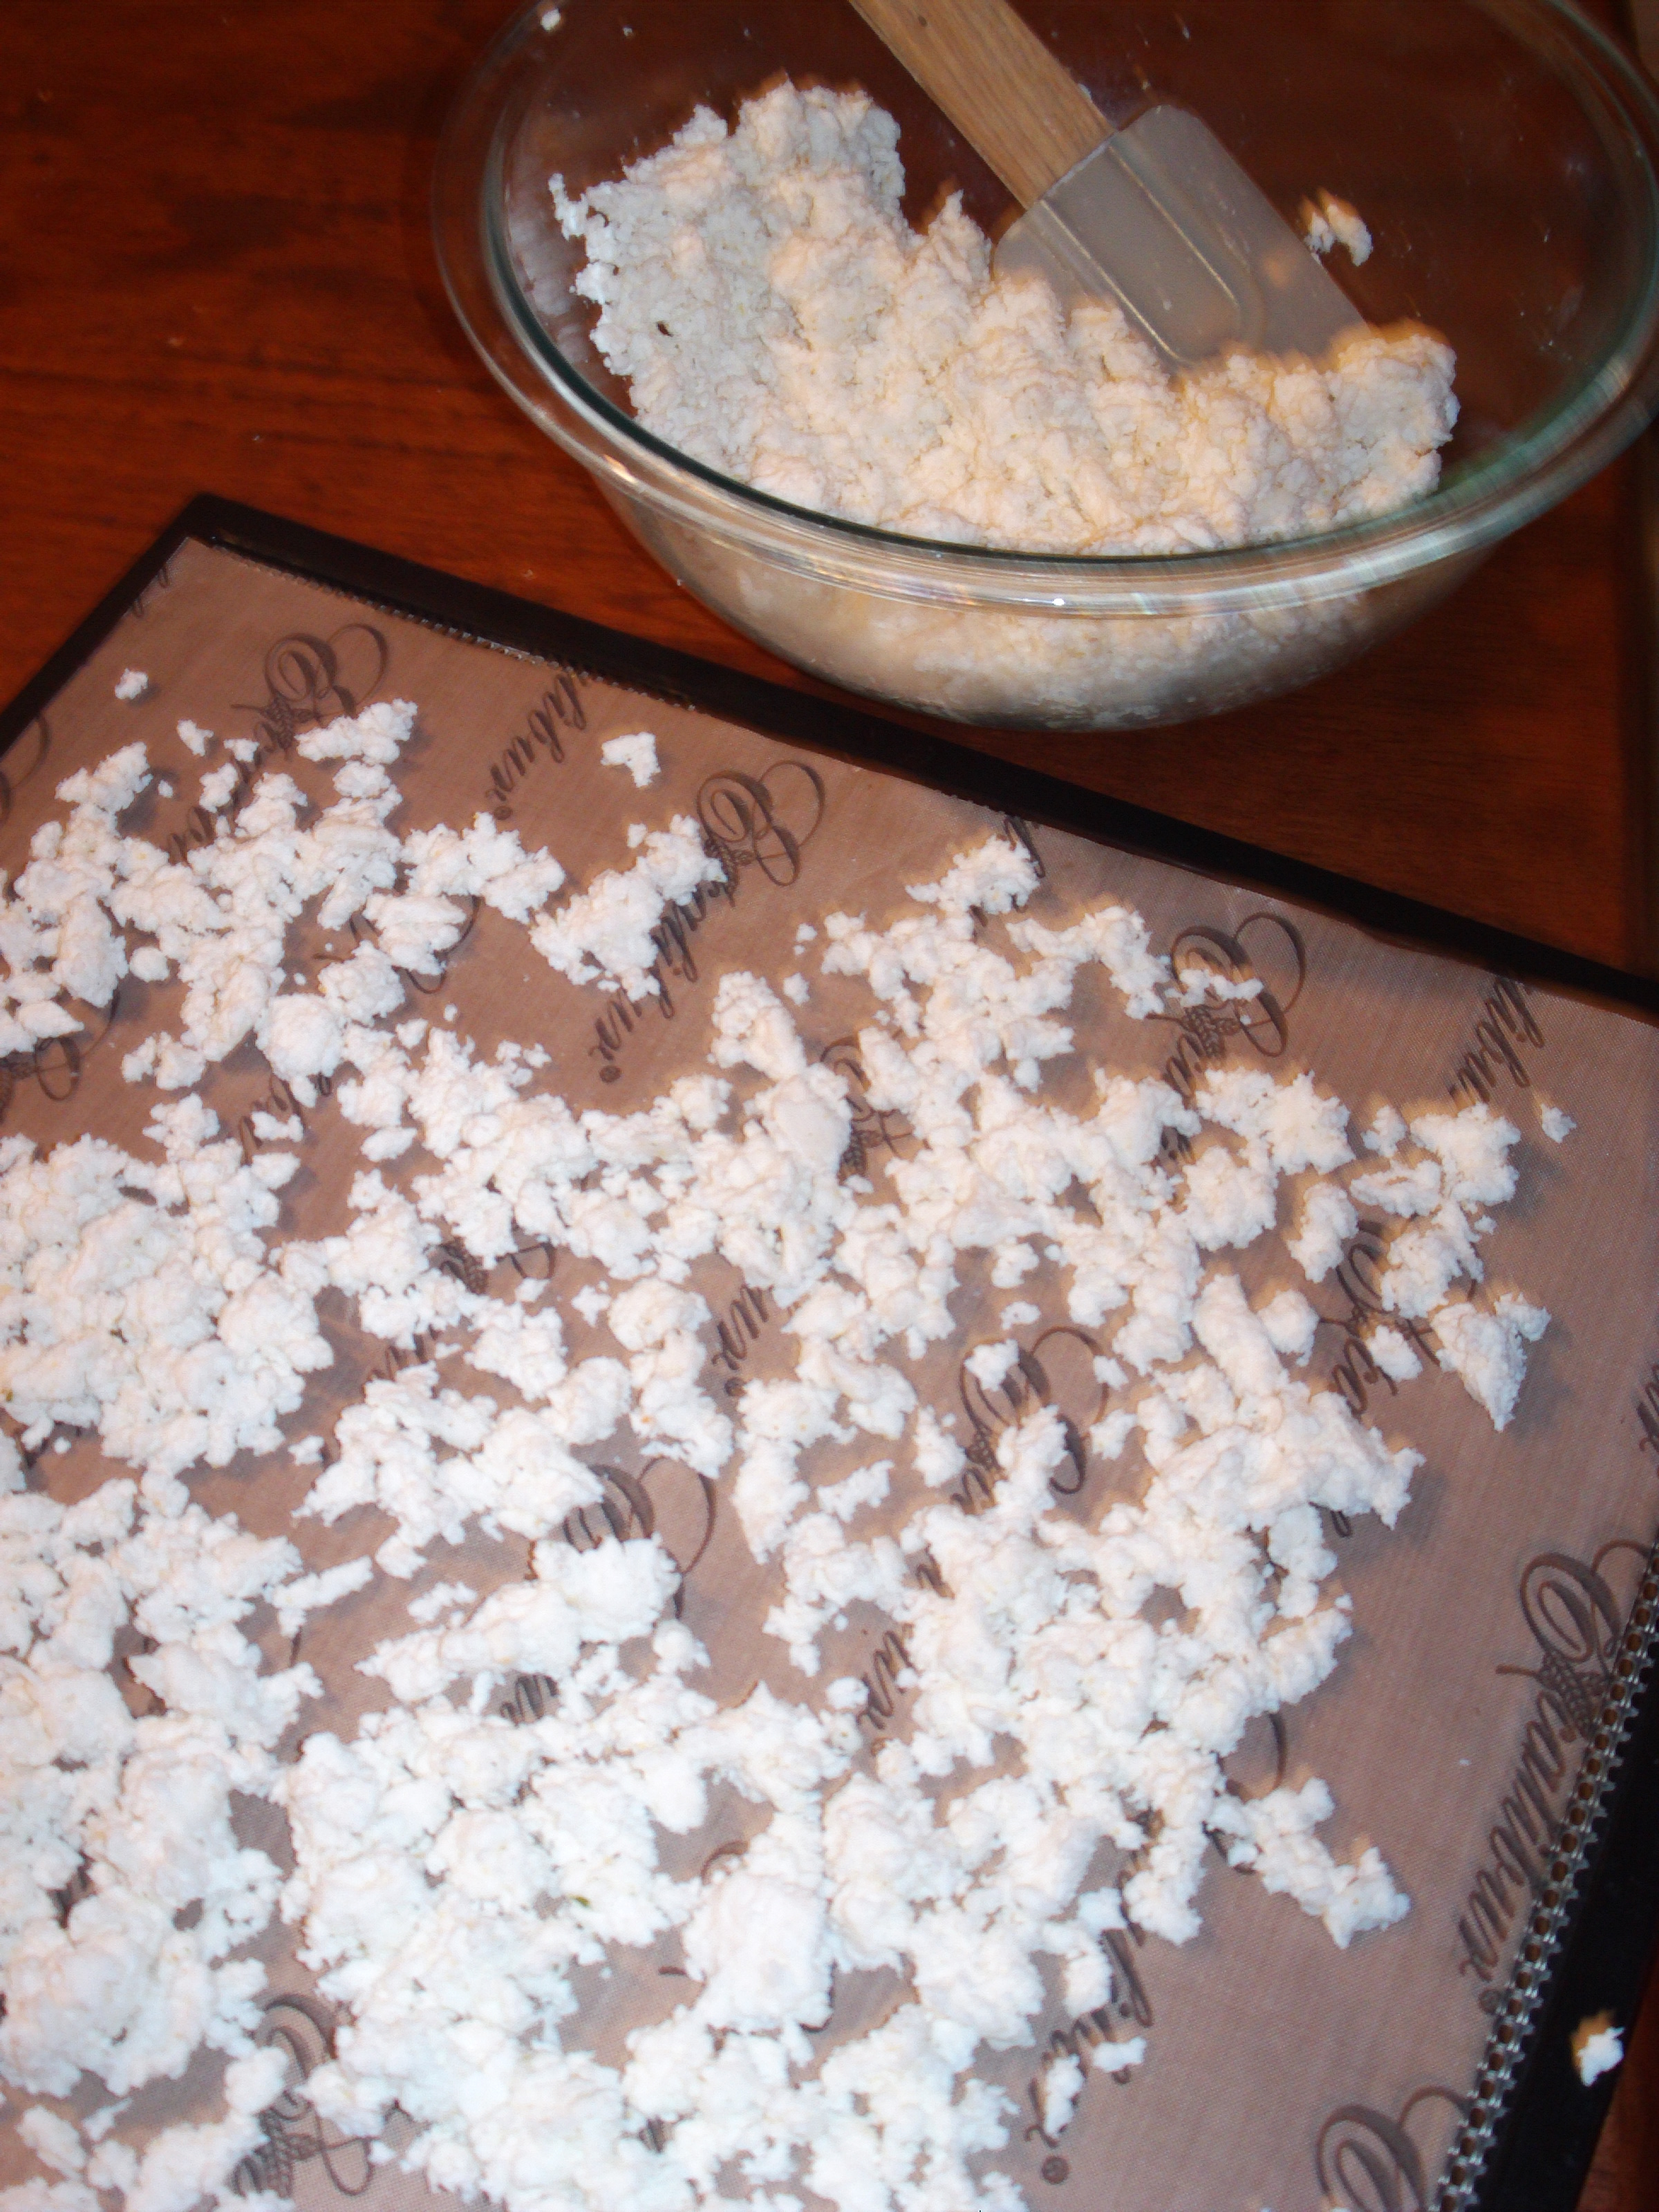 To make a homemade “Parmesan” cheese powder (not a true Parmesan): chill the cheese in the refrigerator after seasoning, then brake it into small pieces. This is best done by putting it into a blender to make a paste, and then spreading it on a Paraflexx sheet in your Excalibur. Place on a dehydrator tray and dehydrate for approximately 12 hours on a low heat. Crumble the cheese, place in jar, and refrigerate.
 Note about whey: Cured cheese requires rennet and creates an extremely versatile whey (delicious in smoothies). This type of whey in the homemade cheese recipe above is called “acid whey”. It is also very versatile and wonderfully packed with nutrients–so put it in your bread and other baked goods, your casseroles, soups, and stews. You won’t notice it in a dish, but the flavor is not as mild as the rennet whey.
Yummy! Tell me, Chaya, how long such a homemade cheese last?
I always keep it refrigerated but we rarely have excess cheese from it. I would guess that you would need to use it within about 2 weeks’ time frame, but how you store it will make a big difference. If you would like for it to last longer, vacuum seal it.
2 weeks is the time frame I was thinking of too. Thanks for the tips 🙂
My grandmother is the master of homemade cheese. I will share your recipe with her, so that she could give it a try.
Hey Chaya, The recipe is looking really promising. I would suggest it to a friend of mine. Personally, I am not such a great fan. Thanks though.
Regards,
Paul