Preserving Summer’s End (Part 1)
How to Dehydrate: Apples, Zucchini, Onions, Carrots
If you are like me, you loathe paying $4 for mealy tomatoes in January. There are two things that really put me over the edge about that: one is that tomatoes are cheaper in the summer, much cheaper! And secondly, a January tomato from the store does not even taste like a tomato. So, I have done all that I can over the years to leverage food preservation to our advantage because I really like tomatoes, but not at $4 lb!
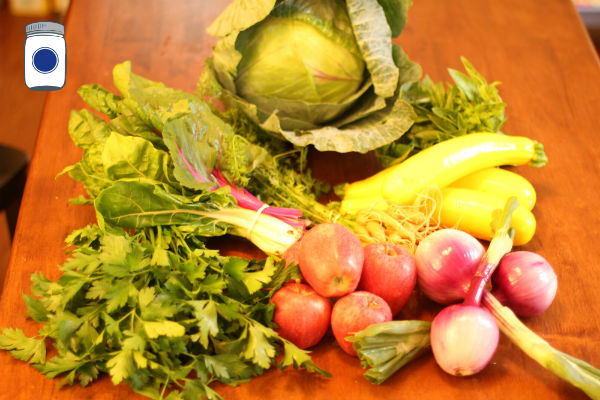
In the last blog, I gave a shout out to all the people faithfully manning the booths at the farmer’s market, we really do appreciate it. In the above picture, here is my haul for $18—not bad. Now to preserve it all. As a reminder, nothing goes to waste. If you cannot use it, your soil can so compost it.
Apples
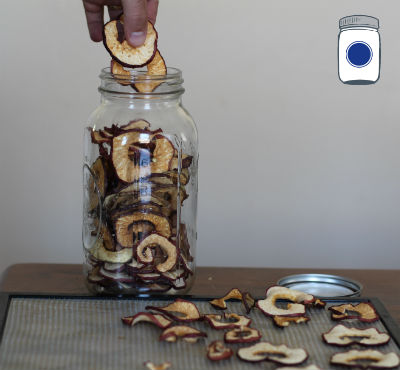
The first thing that I processed was the apples by running them through the dehydrator. In retrospect, I wish that I would have done the herbs first because they go so quick, but are so aromatic that they can impart flavor to other things in the dehydrator like the apples and should be dehydrated alone. But back to the apples: here is how to do it:
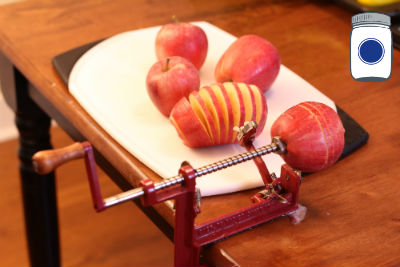
We use this apple peeler from Pantry Paratus, but you can check out our other great apple tools in our Fruits & Nuts section.
You will find that nutritious apples with dense juicy flesh dehydrate best when they are sliced to uniform thin slices. The best way to do this is the apple peeler. We leave the skin on as fiber is always good to have, but if you like them peeled by all means the apple peeler and slicer will make you wonder why you ever did this with a paring knife. It’s also great fun with kids.
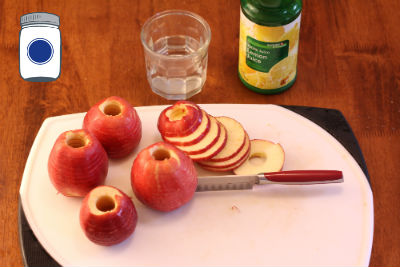
Next, I take the “apple spring” and run a knife down one side to cut the coils and make the rings from the coil-sliced apple. To control the amylase sugar browning on the apples, I dip them in lemon juice (about a ¼ cup to 2 cups of water). Chaya juiced & froze an entire box of lemons earlier in the season; I used that but I also used the stuff from the grocery store too.
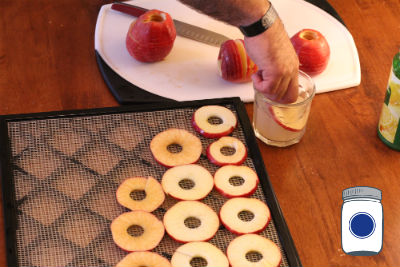
I happen to have this handy thrift store glass cup (picture above) which is exactly the size of the apples so that I can economize my lemon juice and make it go further.
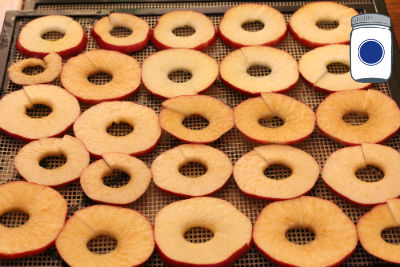
Before
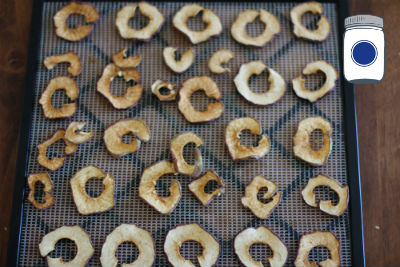
After
I like to do my apples low and slow. That is put them in the dehydrator on low heat for a longer period of time. To me, the apple rings are dehydrated and ready to put away when they have a noticeable click and bounce when you drop them on the table. I like mine to snap when you break them, but other people like theirs chewy so pull them out of the dehydrator when you like their texture.
Zucchini
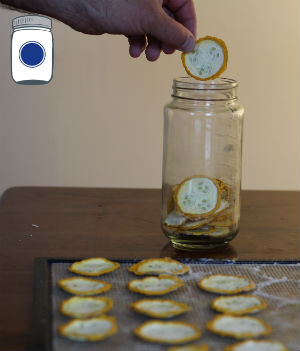
I know, I know. I am probably the only person who cannot grow zucchini well, but these beauties are actually going to make one of my favorite snacks—zucchini chips! Careful though, you do not want to eat too many of them, they are higher in fiber than you think!
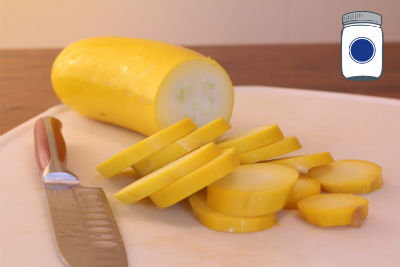
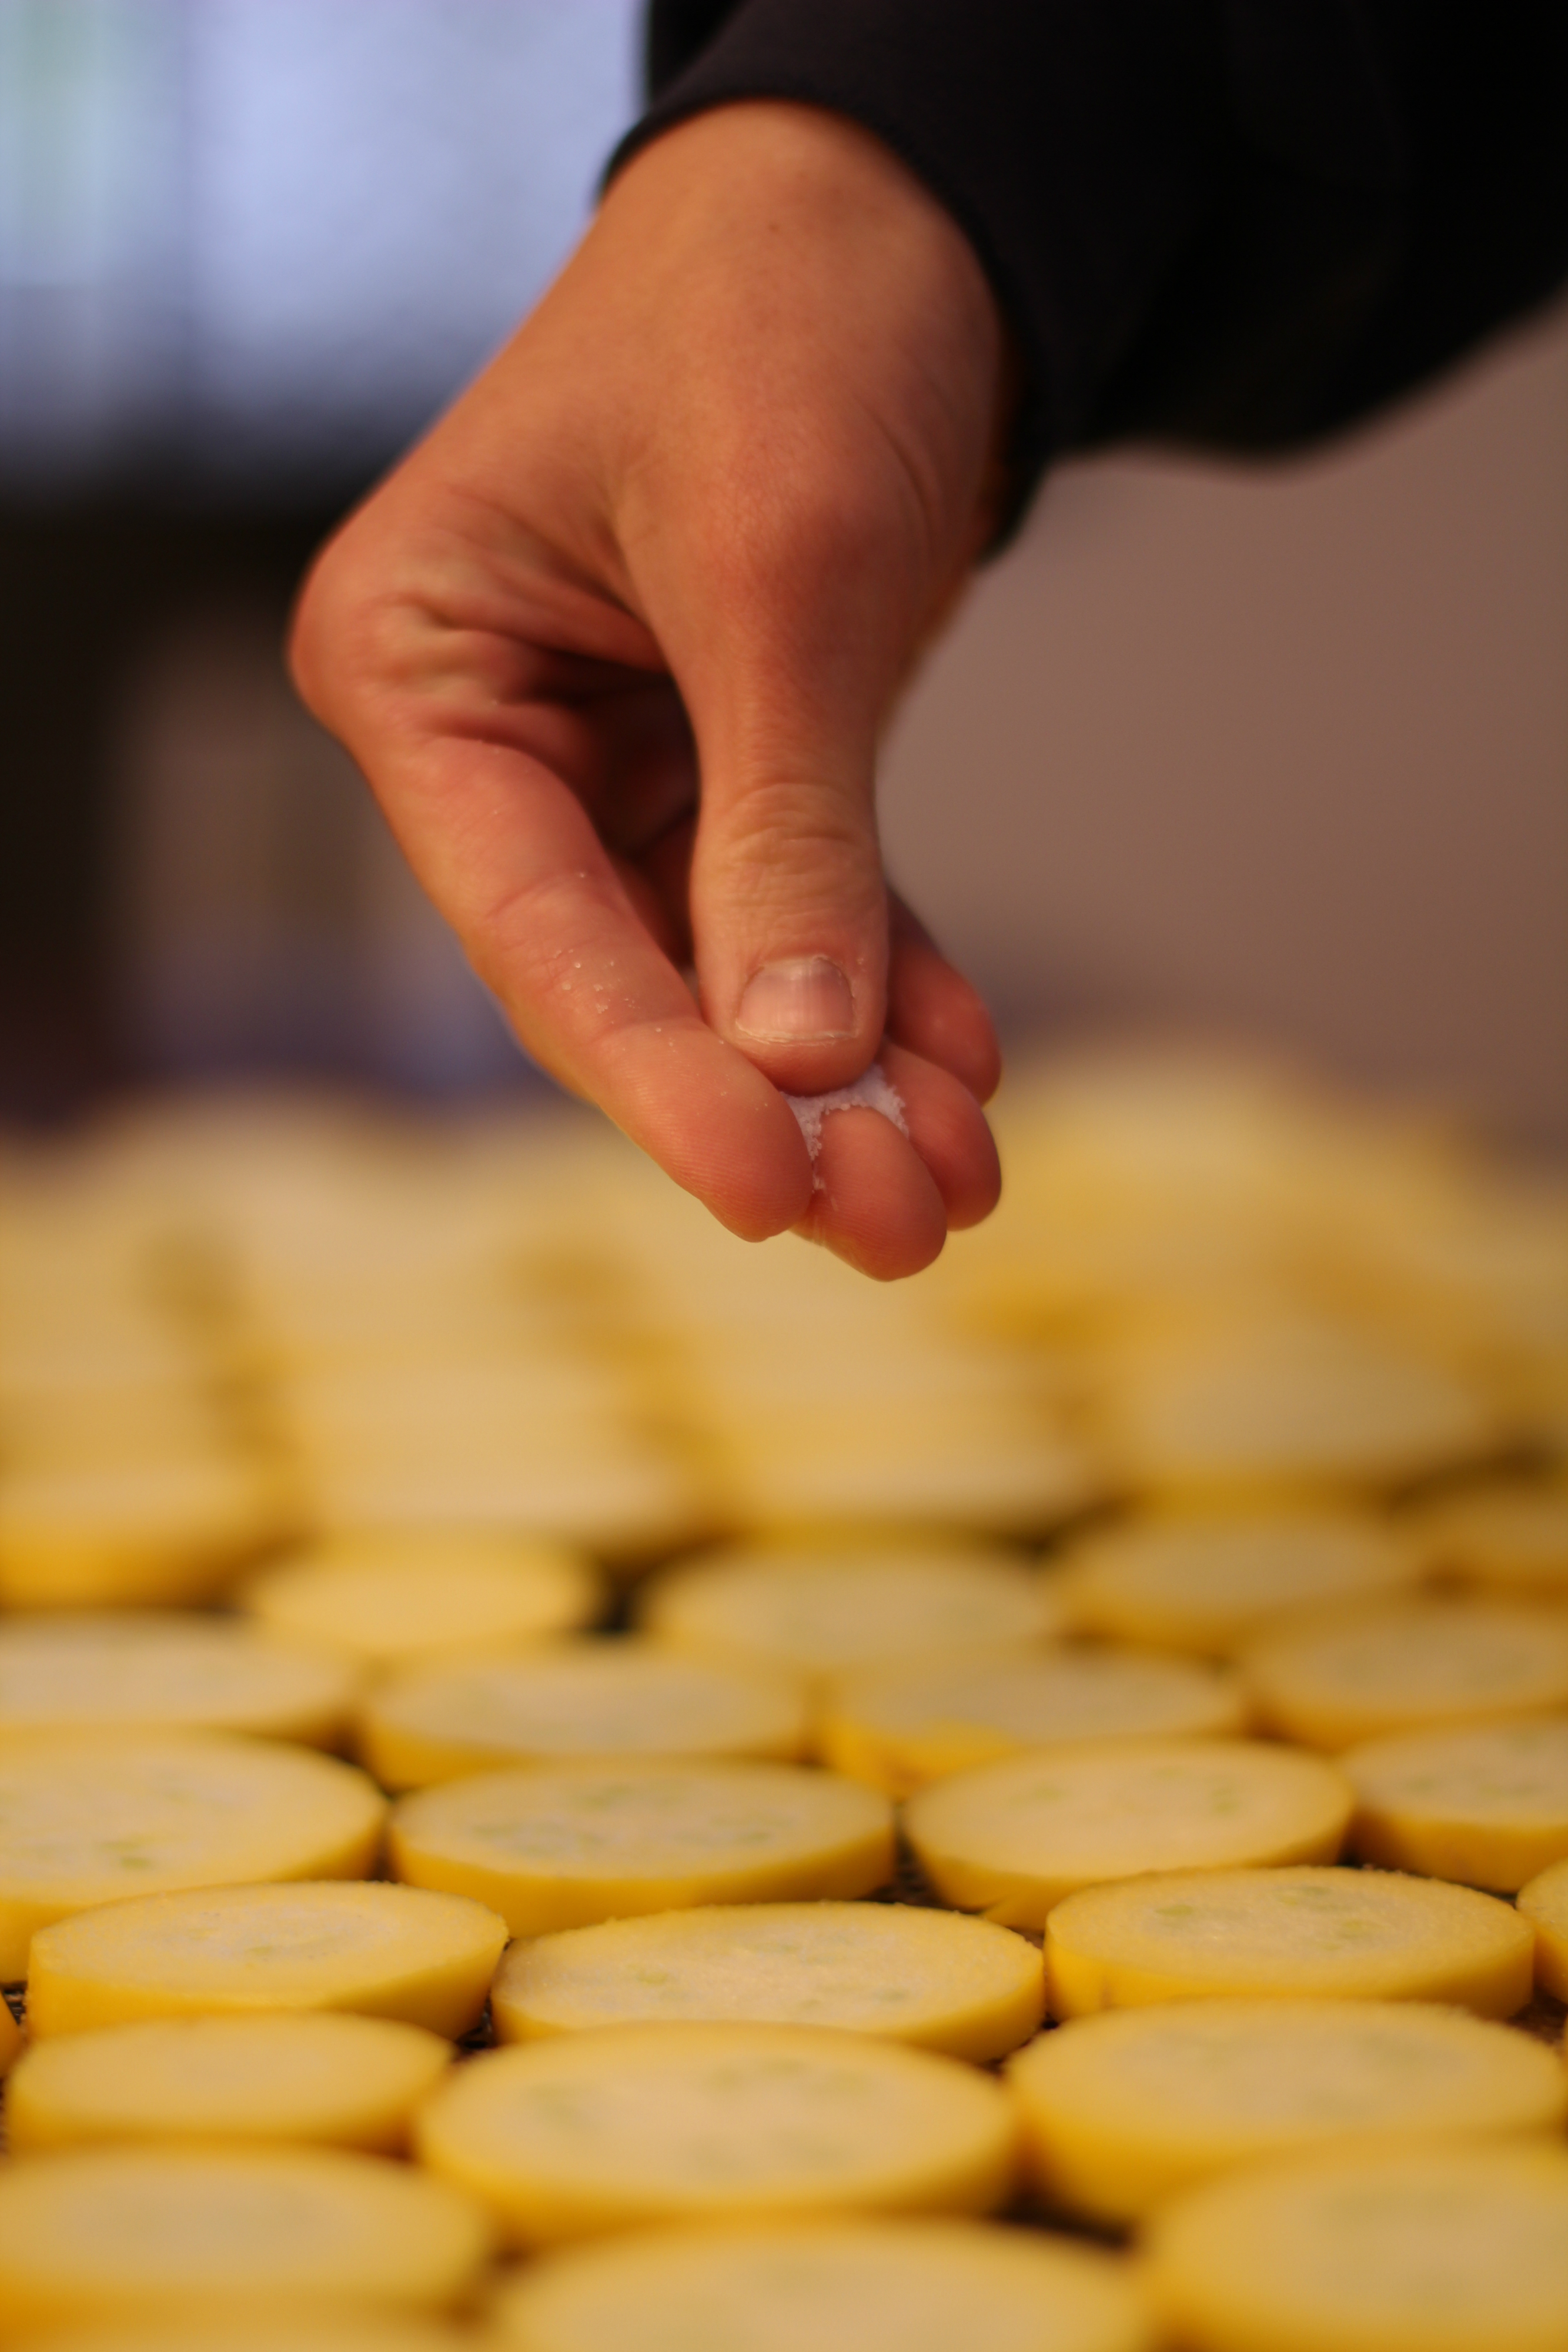
First thing is first, slice them up into discs. Since zucchini dehydrates so well, you do not need to worry (as much as with other foods) about uniformity, but just get them onto the tray.
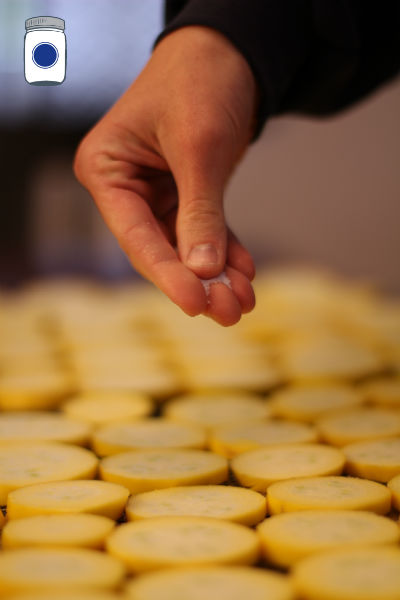
Next for zucchini chips, I like to lightly salt them. You will be surprise how little salt you need here. If you are putting zucchini away for long term storage, skip the salt as it will not be optimal for storage. If you feel adventurous, sprinkle some garlic powder on them as well for a real treat. Still not enough? Find your favorite fresh herbs and make a pesto, dip the zucchini discs in the pesto, then dehydrate them. I will bet that you cannot eat just one!
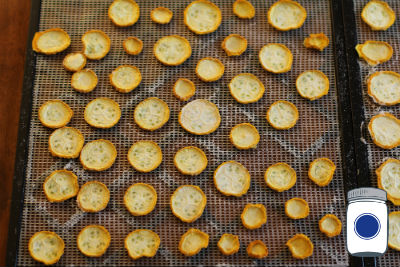
Zucchini (especially with the light salt) dehydrates very quickly, so you can usually turn these around in a day or less.
Onions
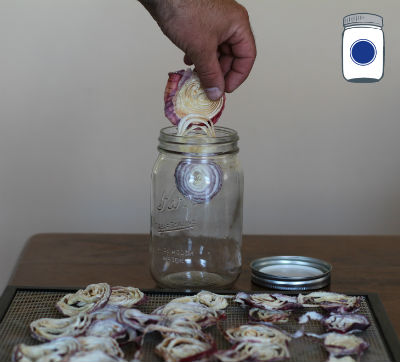
These onions from the farmer’s market were so tasty, we were eating them like an apple. Usually, this indicates low sulfur in the soil, but I am not complaining here. Actually, I found a new side salad dish: fresh lentil sprouts, some finely chopped fresh farmer’s market onions, light sea salt, parsley and some nutritional yeast to taste. Wow!
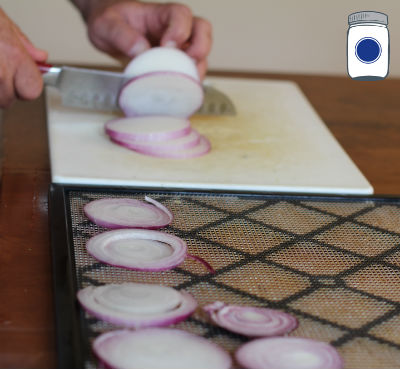
Slice the onions and lay them out on the tray. I was not all that particular here, so the object is to just get them onto the tray. Since they shrink so much, you can overlap them if need be. This may mean that you have to break them apart at the end, but the increase in throughput makes up for it.
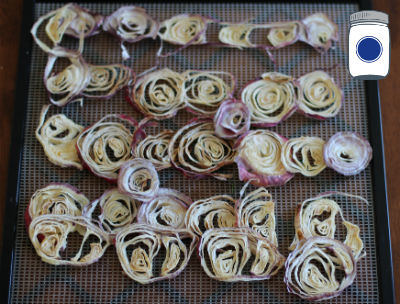
Chaya adds: It’s hard to explain, but the flavor seems to get even better. If you are from the Midwest, you remember those chemical-laden onion-things that people put on green bean casserole, right? Well, these are better, way better. Very nearly a candy.
Carrots
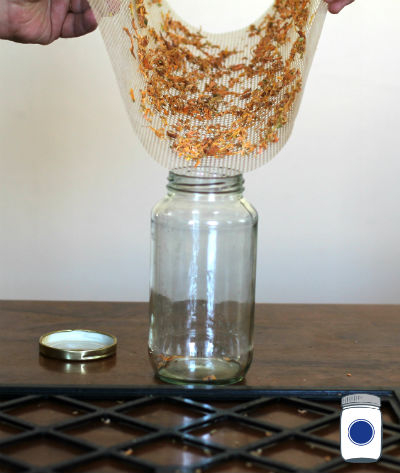
The last thing that I wanted to show you today is the carrots. These were itty bitties that the kind lady at the farm stand gave to Bugaloo, my daughter, a token for how brave she was to even come out with her rain coat and boots.
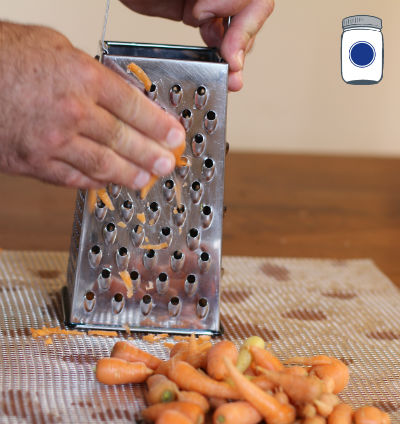
The first thing that I do is to pick off the stems (which are actually related to parsley and are edible) as well as the stringy root bits and I set them aside. Stop by for part 2, and I will show you what to do with those. Since these carrots were so small, they were hard to shred. You can dehydrated carrots sliced, too, but Chaya prefers them shredded because they rehydrated much more thoroughly and quickly.
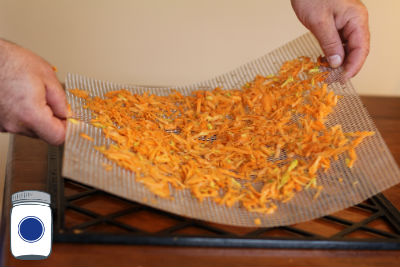
Shredded carrots can be placed directly on the tray. Actually, I just shred them right over the mesh dehydrator mat—done! If you are going to cut the carrots into coins, I recommend blanching the cut slices first, then dehydrating them as this will prevent case hardening.
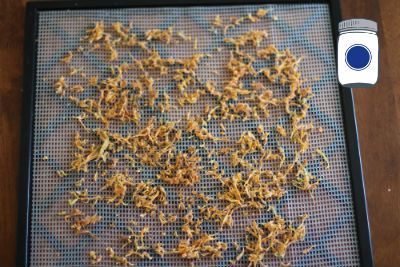
Come back next time for Preserving Summer’s End Part 2. I will show you how to dehydrate herbs (read: $avings!) as well as my Montana Kimchi. See you then!
Pro Deo et Patria,
Wilson
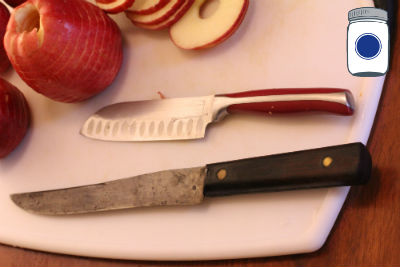
P.S. Do you know what the difference is between these two knives? Why is this difference important for dehydrating? Leave a comment with your answer.
Proviso:
Nothing in this blog constitutes medical or legal advice. You should consult your own physician before making any dietary changes. Statements in this blog may or may not be congruent with current USDA or FDA guidance.
